Why Reading Your Drive Belt Matters in Extreme Backcountry
Deep snow and sub-zero temperatures leave very little margin for drivetrain trouble. A snowmobile may look ready at the trailer, yet a belt that is glazed, narrowed, overheated, or incorrectly tensioned can fail after only a few hard pulls in loose powder. Once the belt lets go, the result may be more than a slower ride. You can lose drive far from the trailhead, expose the clutch system to debris, or face a long recovery in deteriorating weather.
The drive belt should therefore be treated as a diagnostic readout, not simply as a replaceable rubber item. Its surface, edges, width, and cord condition record how the CVT has been working. Shiny faces can point to slippage, frayed edges can reveal misalignment, and an hourglass shape may indicate repeated spinning while stuck. Learning to read those clues, then checking belt deflection accurately in the cold, helps you identify trouble before entering remote terrain. A short inspection can protect both performance and the day”s riding plan.
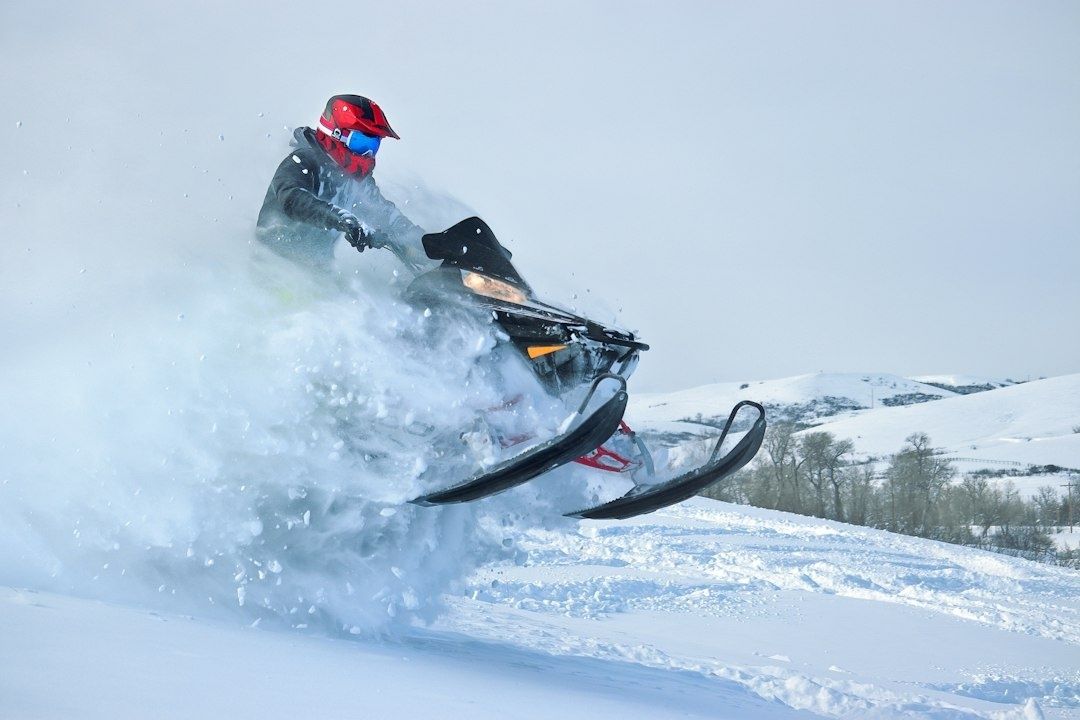
Thermal Shock and Mechanical Dynamics of Backcountry CVT Belts
A modern snowmobile CVT belt operates in a demanding environment. It is a reinforced rubber component rotating at high speed between a primary clutch connected to the engine and a secondary clutch connected to the track. The aluminum sheaves grip the belt through friction, changing the effective diameter of the pulleys as engine speed and load change. This allows the transmission to vary the ratio continuously rather than relying on fixed gears. A clear overview of this arrangement is available in this explanation of continuously variable transmissions.
In firm snow, the system can shift smoothly through its intended range. Deep powder is less predictable. A sudden throttle application may load the belt heavily while the track is digging, and a quick release can prompt a rapid backshift. The belt is squeezed, bent, and accelerated while its temperature changes quickly. Cold air keeps the clutch housing and sheaves extremely cool, but friction at the belt faces can create a sharp local heat spike. That contrast is a form of thermal shock. Repeated cycles can harden the rubber surface, weaken bonding between the rubber and cords, and promote separation.
Several riding situations are especially demanding:
- Deep trenching: The track digs faster than the sled moves, creating severe belt load and heat.
- Rapid throttle changes: Abrupt acceleration and release force frequent ratio changes and belt flexing.
- Cold starts: A stiff belt has less flexibility until it warms gradually through controlled operation.
- Restricted airflow: Packed snow around clutch openings can reduce cooling and allow heat to build.
- Incorrect deflection: Excessive slack or insufficient clearance can cause poor engagement, slippage, and unnecessary sheave wear.
Thermal stress is not automatically a sign of poor riding. Mountain terrain naturally demands more from the CVT than a packed trail. The goal is to manage that demand. Smooth throttle inputs, sensible extraction techniques, clean clutch airflow, and scheduled inspections reduce the chance that a brief stuck situation becomes a belt failure.
Field Guide to Belt Wear Patterns and Visual Diagnostics
Begin every inspection with the belt removed and the engine disabled according to the manufacturer”s instructions. The belt must be cool enough to handle, and the machine must be secured so the track or clutches cannot move unexpectedly. Examine the entire circumference, not just the exposed section. Look for changes in color, texture, width, edge shape, and cord exposure. The maintenance guidance from Ski-Doo”s in-season trail sled checklist specifically calls attention to separation, exposed cords, glazing, narrowing, and other belt wear.
Glazing usually appears as a smooth, unusually shiny surface on the belt sides or faces. It may feel harder and slicker than the surrounding rubber. The most common cause is slippage between belt and sheave, although contamination, incorrect deflection, clutch alignment problems, or excessive heat can contribute. A belt with light discoloration still deserves investigation because polishing often indicates that heat has already been generated. Do not assume that a shiny belt can be restored safely by sanding. Abrading the belt can alter its dimensions, leave debris in the clutch, and hide damage rather than correct the cause.
Hourglassing describes a belt that appears narrower through the center of its length or has a visibly uneven profile. Edge fraying, cord exposure, missing rubber, cracks, and separation between layers are more serious signs. Spinning while stuck in a deep trench can generate enough heat to damage the belt rapidly, especially when the track cannot gain traction. If cords are visible, rubber is separating, or the belt has a strong burned odor, replacement is the prudent response. Carrying a spare does not make a damaged belt suitable for continued hard riding.
| Visual symptom | Likely cause | Immediate field response |
|---|---|---|
| Glossy or polished belt faces | Slippage, overheating, contamination, or incorrect deflection | Allow the system to cool, inspect sheaves and deflection, and replace the belt if damage or hardening is evident |
| Frayed edges or exposed cords | Misalignment, damaged sheave surfaces, or belt tracking problems | Stop demanding operation and inspect alignment, clutch condition, and belt width |
| Hourglass profile or narrowed belt | Repeated high-load slipping, often while stuck | Replace the belt and investigate the event that caused excessive heat |
| Cracks, chunks, or layer separation | Age, thermal damage, impact, or severe overload | Do not continue remote travel on the belt; install a correct replacement |
| Burned odor or dark heat marks | Major friction and thermal overload | Cool the clutch area, inspect for collateral damage, and avoid repeated throttle attempts |
Always compare findings with the exact owner”s manual for the machine. Belt dimensions, clutch designs, removal procedures, and replacement limits vary by model. A belt that appears acceptable from a distance may still be below the manufacturer”s width specification or damaged internally. If the belt has failed violently, inspect the clutch faces, guards, intake area, and surrounding wiring before fitting a new one.
Checking and Adjusting Belt Deflection in Sub-Zero Terrain
Deflection is the amount the belt moves under a specified load when it is installed between the primary and secondary clutches. Correct deflection helps the belt engage properly, limits unnecessary slipping, and supports predictable backshifting. Too much slack can allow delayed engagement and belt movement at idle. Too little clearance can cause belt drag, elevated heat, and difficulty returning to the intended ratio. A small measurement error can therefore affect both response and belt life.
Cold conditions make the check more important. A belt contracted by low temperature may not behave like one measured in a warm shop, and ice or packed snow can alter the apparent position of components. Use the procedure and measurement prescribed for your specific model rather than relying on a universal number. Standard mid-season inspection practices also include checking track condition, suspension parts, lubrication, and other systems that influence load on the drivetrain.
- Secure the snowmobile. Park on a stable, level surface, shut the engine off, remove the tether or key as appropriate, and prevent accidental clutch rotation.
- Clean the clutch area. Remove loose snow and ice without forcing debris into the sheaves. Confirm that the belt and clutch faces are dry and free of oil.
- Install the correct belt. Confirm the belt part number and orientation requirements in the owner”s manual. Seat it fully in the secondary clutch according to the manufacturer”s procedure.
- Position a straightedge. Place a suitable straightedge across the belt span as directed by the manual. Keep it aligned with the specified contact points.
- Apply light hand pressure. Press at the measurement point using the prescribed method. Do not lean your body weight onto the belt or distort the reading.
- Measure the movement. Use a ruler or deflection tool to compare the belt”s movement with the factory specification. Repeat the measurement if the reading is unclear.
- Adjust only as designed. Use the correct spacer, washer, or secondary-clutch adjustment method for the model. Never improvise with random shims or alter clutch components without verified specifications.
- Recheck after adjustment. Rotate the system only when the manual permits it and the machine is safely secured, then confirm belt seating and deflection again.
Following standard mid-season maintenance steps helps keep the secondary clutch at the clearance prescribed by the manufacturer. If adjustment requires unfamiliar disassembly, special tools, or force, stop and use a qualified technician. A clutch spring under tension or a wrongly installed spacer can create a dangerous mechanical failure, while an incorrect adjustment can damage a replacement belt almost immediately.
Sub-Zero Trailcraft for Belt Preservation and Recovery
A disciplined warm-up is one of the simplest ways to reduce belt stress. For roughly the first five minutes, use low speed and gentle throttle inputs where conditions allow. The aim is not to idle indefinitely, but to bring the belt and clutch components toward operating temperature progressively. Avoid a full-throttle launch immediately after starting, especially when the sled has been sitting overnight in severe cold. Let the drivetrain begin working before asking it to handle deep powder or a steep climb.
When carrying a spare, protect it from sharp tools, fuel, oil, and crushing loads. A belt stored in an insulated tunnel bag can remain more flexible than one exposed to windchill, but it must be secured away from hot exhaust components and moving hardware. Do not place rubber directly against a hot exhaust or muffler. Keep the replacement belt dry, and check it before the trip for cracking, contamination, or incorrect fit.
- Use smooth, progressive throttle when entering deep snow rather than instantly demanding maximum track speed.
- If the sled is trenching, reduce repeated throttle stabs and choose a controlled extraction technique.
- Clear packed snow from cooling and clutch areas during stops, following the machine”s safety instructions.
- After a severe stuck event, allow the belt and clutches to cool before making another hard attempt.
- Carry the correct belt, basic hand tools, gloves, and the owner”s manual or approved service information.
- Never bypass guards or operate with damaged clutch components simply to complete a remote trip.
A belt can fail even when the rider is careful, so recovery planning matters. Tell the group when a belt has overheated, watch for a change in engagement or backshift behavior, and treat new vibration or odor as a reason to stop. Early action is easier on a quiet trail than after a complete loss of drive in deep snow.
Mastering the Trail with Proactive Mechanical Awareness
The most useful belt warning signs are visible before the failure itself. A polished surface points toward slippage or heat. Frayed edges suggest tracking or alignment trouble. Narrowing, hourglassing, exposed cords, cracks, missing rubber, and separation indicate that the belt should not be trusted for remote riding. These clues become more meaningful when connected to the riding event that produced them, such as repeated trenching, abrupt throttle changes, or a long climb in heavy powder.
Make belt inspection and deflection measurement part of the normal riding routine. Check before leaving the trailer, inspect again after an unusually hard extraction, and verify the belt whenever engagement, backshifting, smell, or vibration changes. Use the model-specific manual for every specification and adjustment, and hand complex clutch work to a qualified shop. With that habit in place, cold weather becomes a condition to manage rather than a surprise. The result is better mechanical self-reliance, stronger performance, and more confidence when the trail disappears beneath fresh snow.